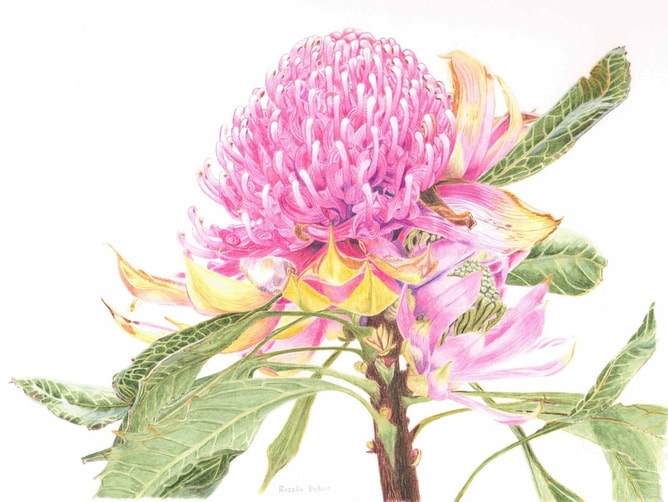
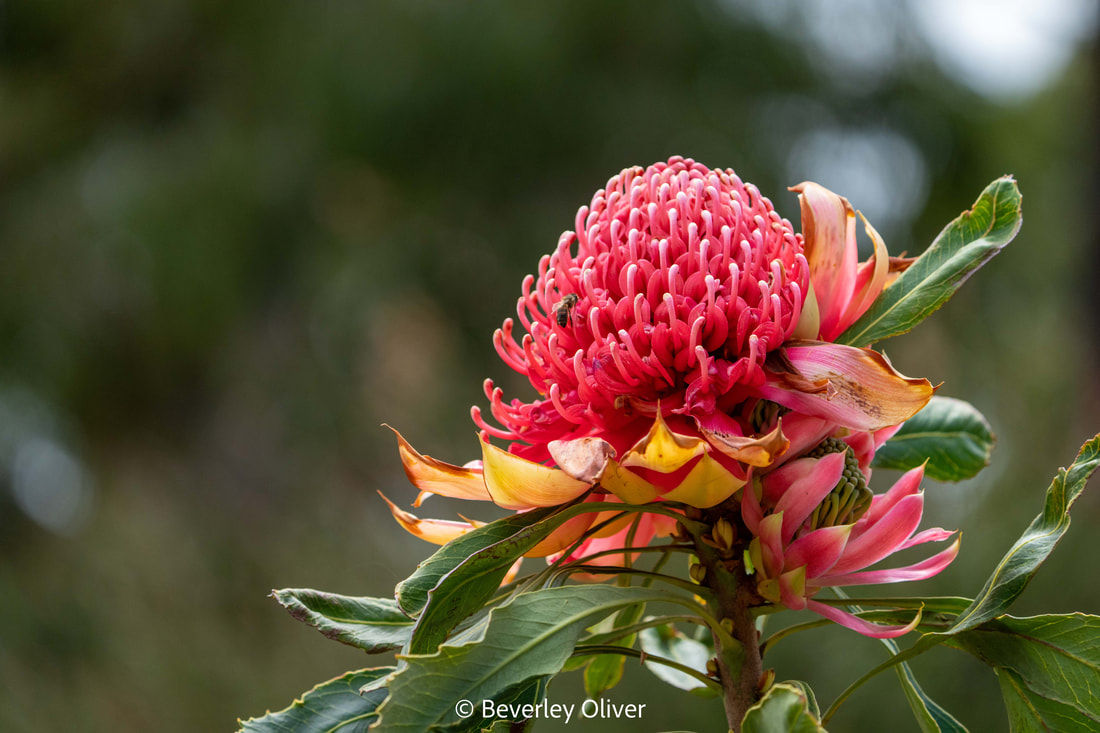
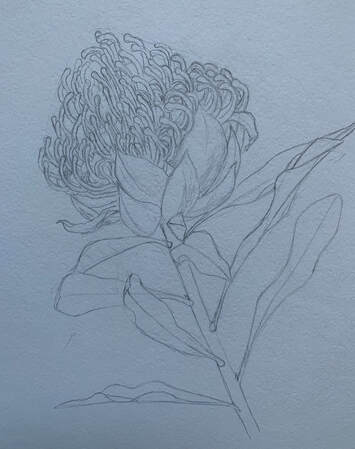
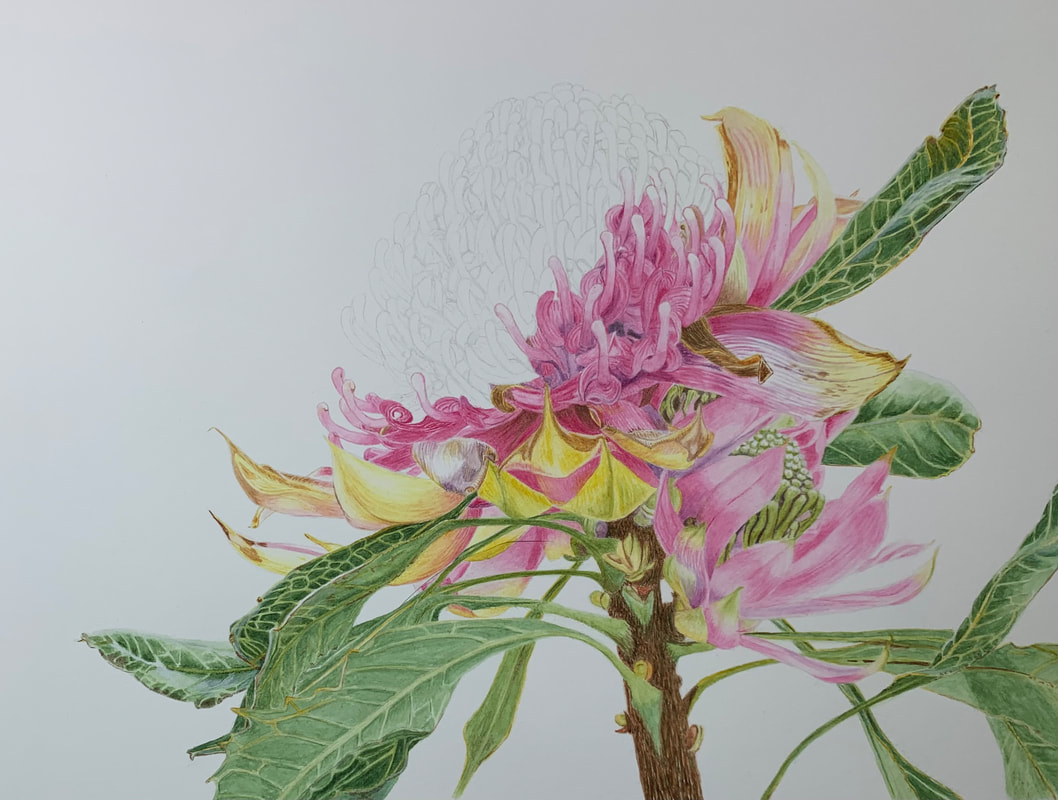
ROSALIEshares some aspects of her process for creating a watercolour Here are some insights into how I went about creating this watercolour of a waratah. We recently visited Cranbourne Botanic Gardens and the waratah shrubs were bursting with beauty, forming a floral arrangement at eye height. There were the beautiful red waratahs as well as every version of pink, peach, gold and cream. Beverley, my personal photographer, was on the job, and captured some great shots that inspired me to create a watercolour of one of these lovely waratahs. I chose a shot of a particular pink flower because of the shape of its leaves and because it was showing off with two extra flower heads. I then needed to learn how the waratah 'works'. This pencil drawing (below) is of a flower I purchased so as to ‘learn’ about the growth characteristics of waratahs. I spent hours on the drawing, preparing the paper for my “future self” taking away most of the guesswork on the position of the flower buds (stigmae and perianth tubes at their base). There are about one hundred of these buds, each a flower in their own right sharing the space to make the display. The flowers are cradled by floral bracts which emerge as green then turn pink -- and ultimately gold and brown as they fade and die. To me the leaves tell part of the story, almost like dancers leading the eye to their prize bud as it emerges from the bracts. Having done my preparatory sketch, I turned to my watercolour - and began anew, drawing the flower in the photo. I chose to paint the leaves first, then moving on to the bracts experimenting with the colours I had mixed for the purpose. The greens, mainly versions of sap green and indanthrene blue, some winsor yellow deep for the yellower parts, the golds in the bracts Aurelian yellow and quinacridone gold, the pinks quinacridone rose alone or with indanthrene blue. My brushes were mainly Neef Robert Wade Taklon sizes 3 to 10/0. When I was ready to paint the flower I timed myself and it took me approximately two to three hours for paintwork the size of a twenty-cent coin. I had to paint each individual perianth with its own veins and tones as it opened to reveal the stigma and then carefully outline and shade the stigma to hopefully convey its tube shape and lighter colour as it reaches for the sun. The composition is all down to Beverley's framing of the photograph, I just drew the leaves I thought added to the story and left out a few that I felt would be confusing to the viewer. I edited out the bee that had landed on the flower (in the original photo) as I thought there was enough going on with the complex arrangement of leaves and bracts.
I hope you enjoy viewing the final product as much as I enjoyed creating it.
Comments
|
SUBSCRIBETo get blog updates, signup when the form appears on screen, or contact us. We'll contact you about once a month with an update. To find a blog about a bird or a place, use this search bar, or check out our Google map.
Archives
September 2023
|


